How to Embroider Letters and Words: Lettering for Beginners
Hand embroidery lettering made easy: choosing a font, transferring text, the best stitches for letters, sizing, and tips for smooth curves and clean corners.
By Ayoub Farid · · 2 min read
Names, quotes, dates, initials: lettering is one of the most popular reasons to learn embroidery. It's also where small unevenness shows the most, because we all know what letters should look like. These tips make lettering clean and readable.
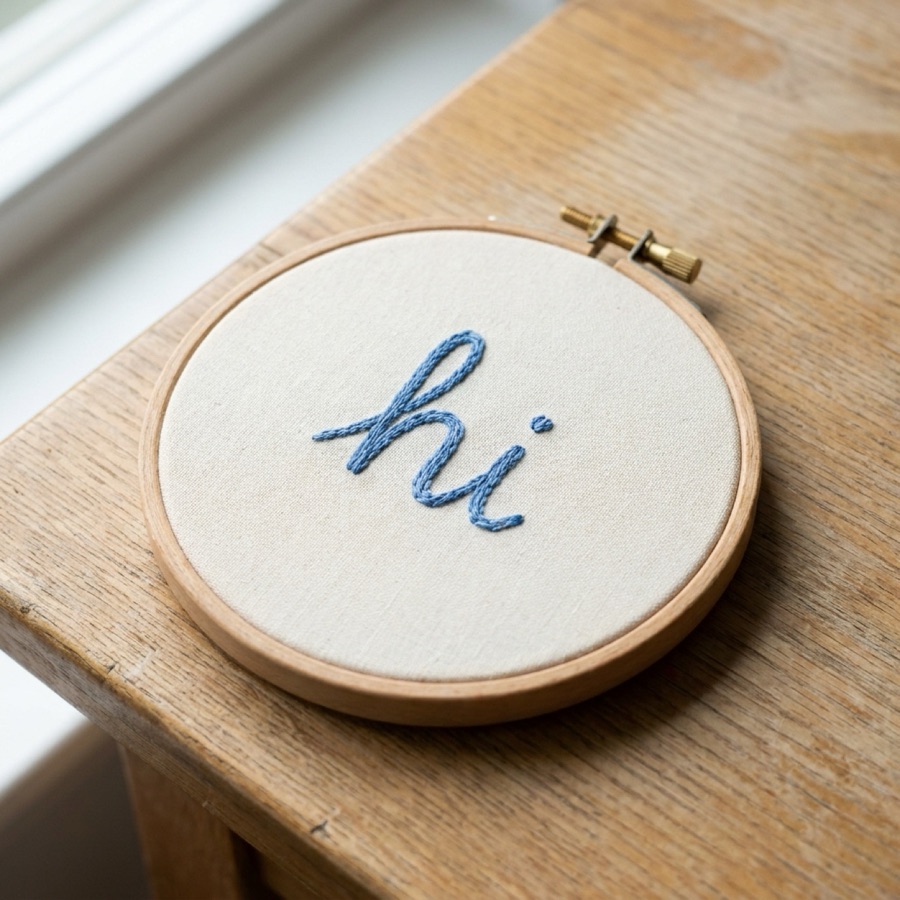
1. Choose a stitch-friendly font
- Simple sans-serif or rounded fonts are easiest: even lines, few sharp details.
- Script fonts look lovely in stem stitch, chain stitch or whipped back stitch, but avoid fonts with hairline-thin strokes.
- Avoid tiny serifs and fussy decorations for your first projects.
Write the text by hand if you like: handwritten lettering looks charming in embroidery.
2. Size it big enough
Letters under about 1.5 cm tall are hard to stitch neatly with 2+ strands. For small text, use 1–2 strands and tiny stitches. For a first project, aim for letters 2–4 cm tall.
3. Transfer cleanly
Print the text at the right size and trace it with a washable pen on a light box, window or bright screen. See how to transfer embroidery patterns.
4. Pick the right stitch
| Look | Stitch |
|---|---|
| Clean and simple | Back stitch |
| Textured, solid | Split stitch |
| Smooth, flowing script | Stem stitch |
| Bold, vintage | Chain stitch |
| Smooth and polished | Whipped back stitch |
| Bold filled letters | Satin stitch over split stitch outline |
5. Stitch letter by letter
- Use short stitches on curves (2 mm or less) so "o", "s" and "e" stay round. See smooth curves.
- Break the line at sharp corners: end a stitch exactly at the corner, then change direction.
- End and restart between letters rather than carrying thread behind, so it doesn't shadow through.
- For script, stitch strokes in writing order where possible.
6. Check spacing as you go
Look at the whole word from arm's length after each letter. Uneven letter spacing is more noticeable than slightly uneven stitches.
Lettering project ideas
Initials on a tote, a baby's name and date, a short quote in a hoop, a monogram on a pocket. Ideas in name embroidery ideas.
Hoopie's week 2 lesson is "Letters in split stitch". After stitching, the photo coach points out letters where the line goes uneven or stitches get too long on a curve.
Frequently asked questions
What is the best stitch for embroidering letters?
Back stitch and split stitch for clean letters; stem or chain stitch for script; whipped back stitch for a smooth, polished line.
How do I make embroidered letters neat?
Use a simple font, short stitches on curves, break the line at corners and keep spacing even.
How small can embroidered letters be?
About 1 cm with 1 strand and tiny back stitches. For beginners, 2–4 cm is easier.
How many strands for lettering?
Two strands for most lettering, one for very small text, three or more for bold display letters.